Part 4 is one of those exams that can feel intimidating simply because of how much you are expected to accomplish in such a short amount of time. Now that we are required to travel to the facility of the National Board of Chiropractic Examiners (NBCE) in Greeley, Colorado for this exam, the stakes feel higher and there are a lot more moving pieces. I just returned from taking this exam, and I wanted to share my advice about the best ways to prepare.
The new format of Part 4 consists of seven simulated patient encounters, with only 14 minutes to complete the history, physical examination and report of findings for each patient. Once the encounter is over, you have just six minutes to write your SOAP note. On top of that, there is a separate adjusting room where you must complete ten adjustments in 14 minutes: two cervical, two thoracic, two lumbar, two pelvic/SI, one upper extremity and one lower extremity adjustment.
After years of chiropractic school teaching us to be thorough with our patient histories, physical exams and clinical reasoning, it can feel a little counterintuitive to suddenly have to move so quickly. But if there is one thing I learned preparing for Part 4, it is that efficiency, speed and straightforwardness are just as important as knowing your material.
Yes, it is a lot. And yes, the time goes by quickly!
Learn to Be Problem-Focused
Throughout chiropractic school, we are taught to take comprehensive histories and perform thorough physical examinations. Those skills are important, and you absolutely need to understand how to evaluate a patient properly. However, Part 4 requires you to adapt those skills to a very different environment.
You do not have time to perform every test you know or ask every question that might be relevant. Instead, you need to identify the patient’s chief complaint, ask the questions that will help you understand the problem, and select the physical examination procedures that are most appropriate for that particular case. The goal is not to do less clinical reasoning. It is to make your clinical reasoning more efficient.
Practice recognizing the information that matters most for each presentation. Think about what you need to know to narrow your differential diagnosis, identify potential contraindications and determine the appropriate next steps. Be confident in your decisions and avoid getting caught up in unnecessary details.
Practice With a Timer
One of my biggest recommendations is to practice under the same time constraints you will face on exam day. Knowing the material and being able to demonstrate that knowledge under pressure are two different things.
Set a timer for 14 minutes and work through a complete patient encounter, including the history, physical examination, and report of findings. Then give yourself six minutes to write the SOAP note.
You will probably find that your first few attempts feel rushed or that you spend too much time on one portion of the encounter. That is okay! The purpose is to identify those habits before exam day.
As you practice, pay attention to where you lose time. Are you asking too many questions during the history portion? Are you performing physical examination tests that do not meaningfully contribute to your clinical impression? Are you overexplaining your report of findings? Identifying these patterns will help you become more deliberate and comfortable with the time constraints.
I would also recommend reviewing common clinical presentations and practicing how you would approach each one. The more familiar you are with the structure of an encounter, the less time you will spend trying to figure out what to do next.
Do Not Neglect the Adjusting Room
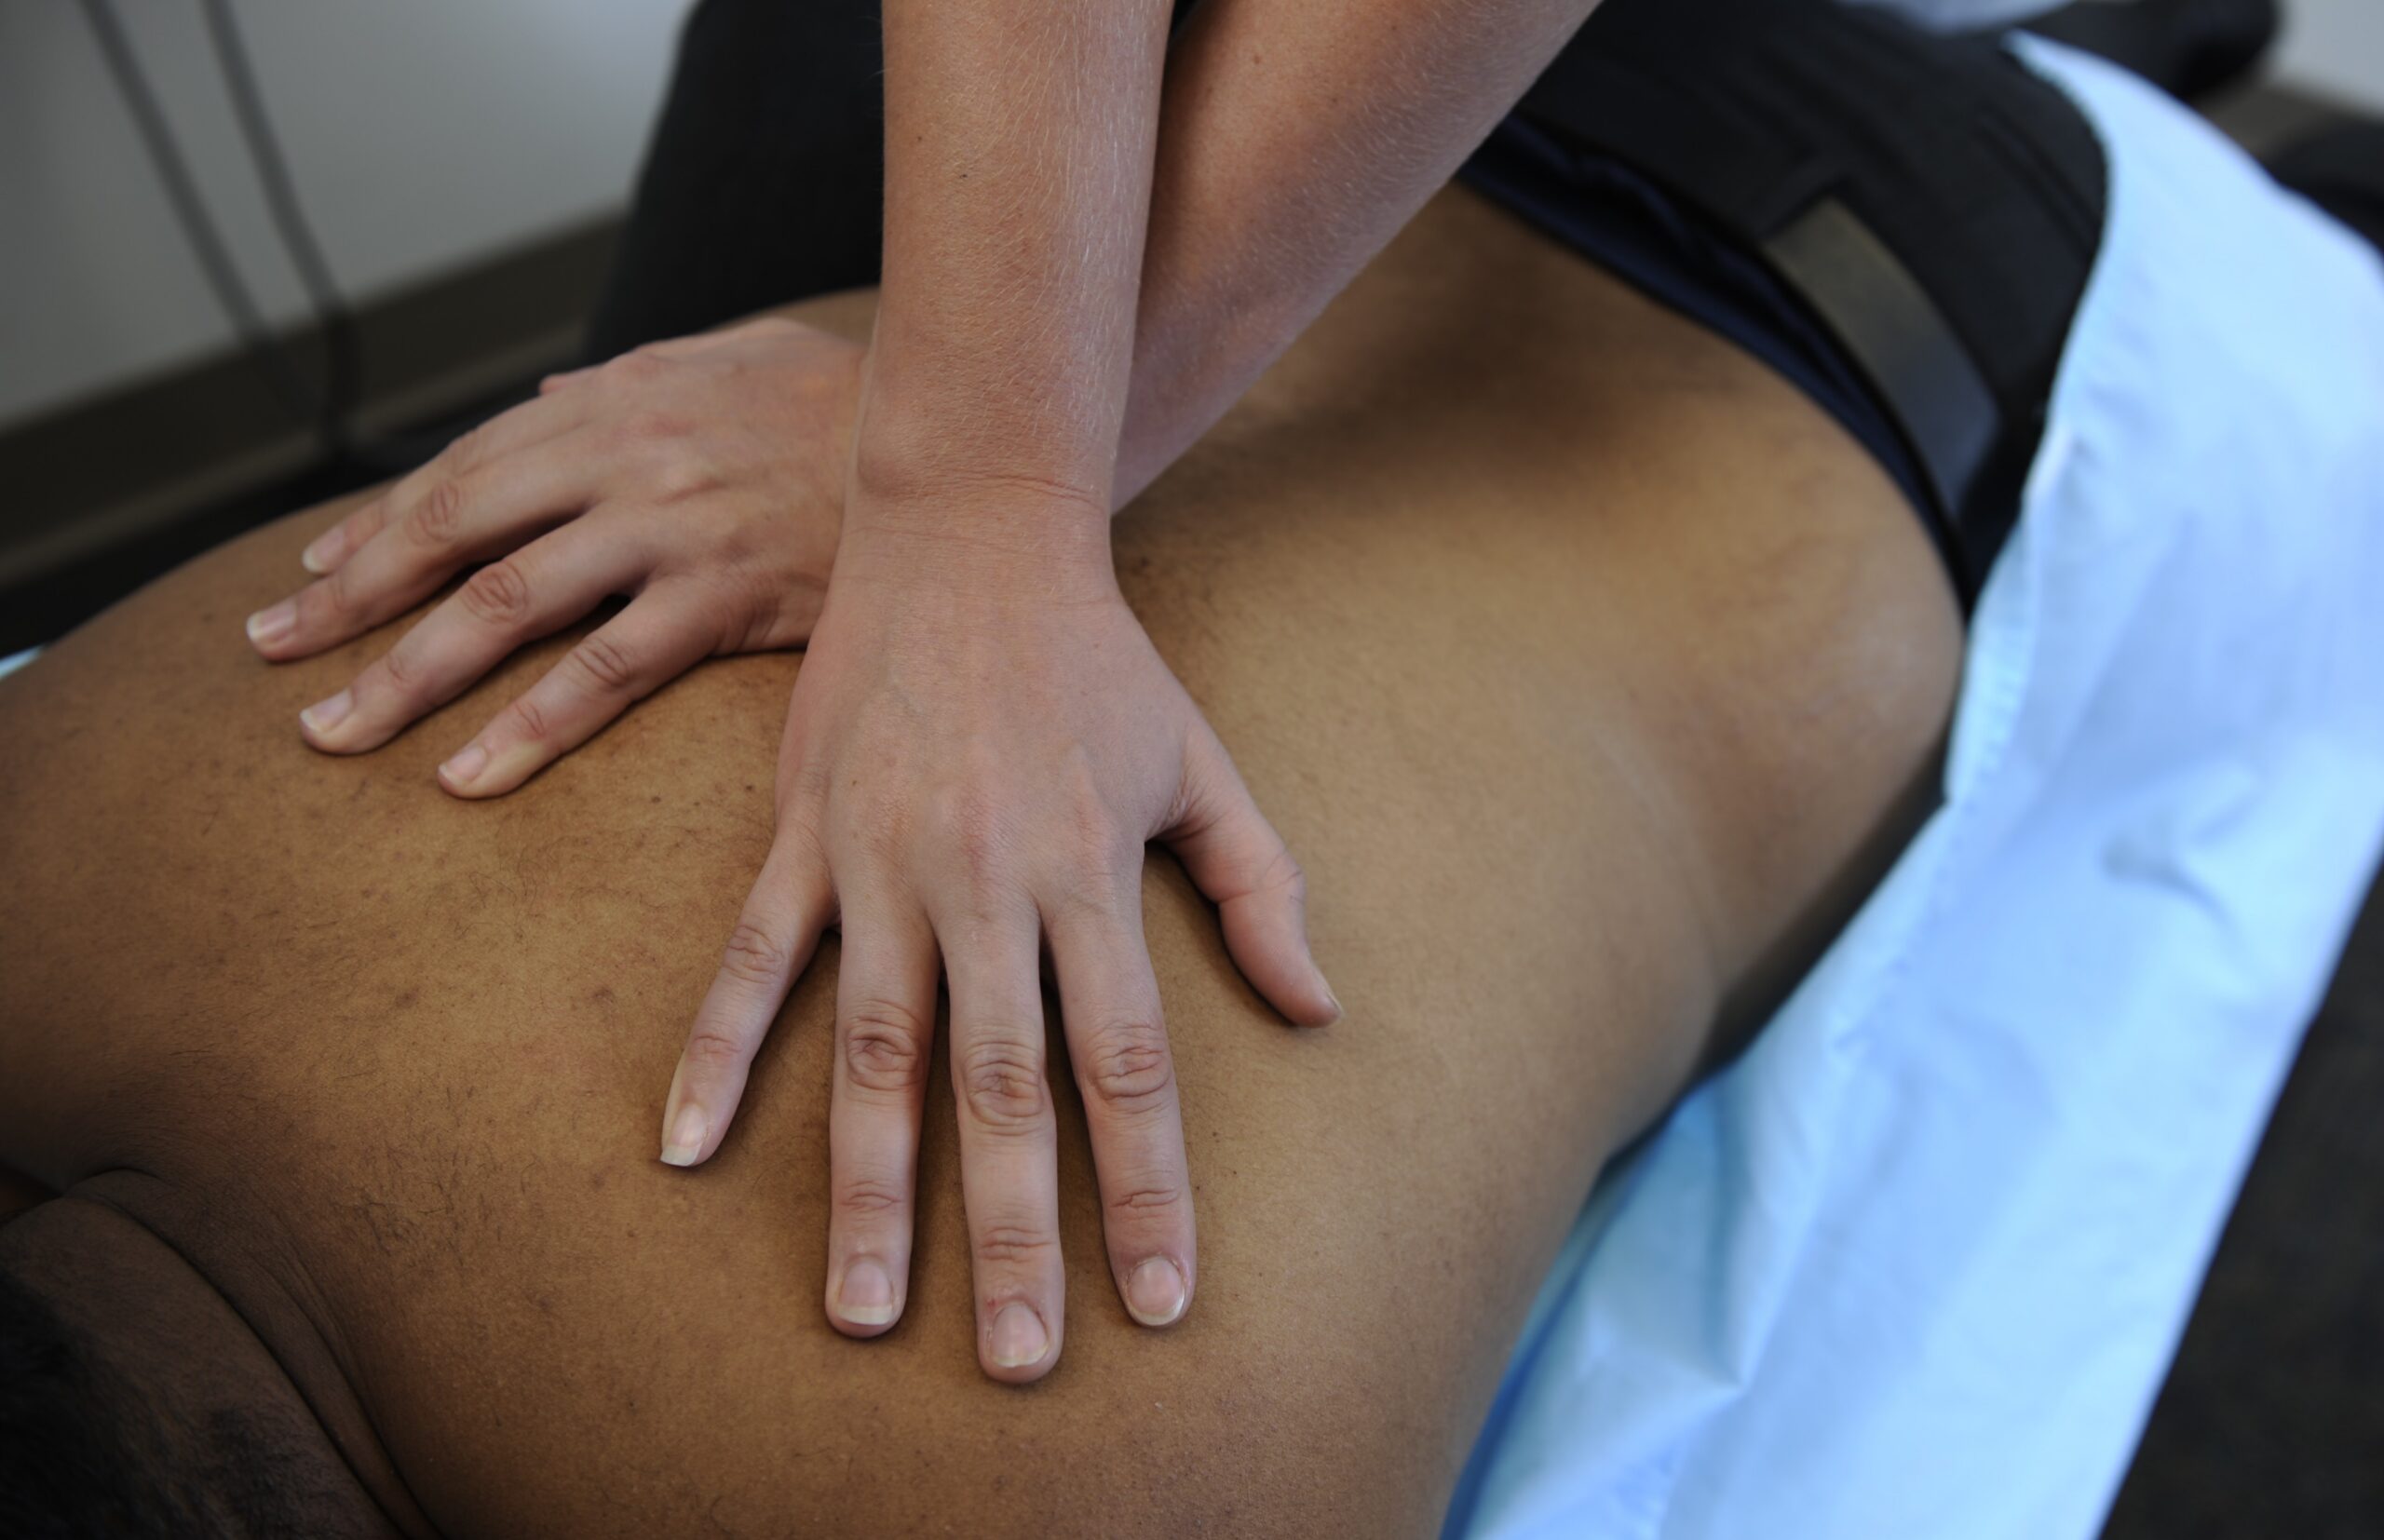
The adjusting room deserves its own preparation because it is a different skill set from the simulated patient encounters. You have ten adjustments to complete in 14 minutes, which means you need to be comfortable with your setups before you walk into the room.
My biggest piece of advice is to identify one or two specific setups for each adjustment category that you feel confident performing and practice them repeatedly. You do not want to waste valuable time deciding which technique to use or trying to remember the details of a setup.
Practice vocalizing the entire process, including your patient instructions, patient positioning, contact points and line of drive. You want to be able to communicate your setup clearly and confidently without having to stop and think through every step.
This is also a great opportunity to ask classmates or instructors to watch you practice. Having someone listen to your verbalization and observe your setup can help you catch details you might overlook when practicing alone.
The goal is to make your setups feel familiar enough that you can focus on executing the instructions accurately and efficiently rather than figuring them out in real time.
Prepare for the Format, Not Just the Material
It is easy to spend all your study time reviewing diagnoses, orthopedic tests and adjustment techniques. Of course, you need that knowledge. But preparing for Part 4 also means practicing how to apply it within the structure of the exam.
You can know every special test and still struggle if you spend too long deciding which ones to perform. You can be a great adjuster and still feel rushed if you have not practiced vocalizing your setups. And you can understand a patient’s case perfectly but lose valuable time if you cannot communicate your findings concisely.
Most importantly, remember that being efficient does not mean being careless. You still need to demonstrate appropriate clinical judgment, recognize red flags and perform your examinations and adjustments safely. The challenge is learning how to do those things without unnecessary hesitation.
Give Yourself Time to Build Confidence
If you feel overwhelmed when you first start practicing, do not let that discourage you. The time constraints are challenging, especially when you are accustomed to spending much longer with patients during your clinical education. Speed and efficiency are skills that improve with repetition.
The new Part 4 format makes it especially important to practice deliberately rather than simply reviewing information passively. The more you simulate the exam, the more comfortable you will become with its pacing and expectations.
Part 4 is not just testing what you know. It is assessing whether you can apply what you know, communicate it clearly and perform the required skills within a limited amount of time.
My biggest takeaway is this: Be prepared, be decisive, and keep it simple. Trust your education, focus on the problem in front of you, and practice until the format feels familiar. You do not need to demonstrate everything you have learned throughout chiropractic school in every encounter. You need to demonstrate that you can recognize the problem, evaluate the patient appropriately and make sound clinical decisions.
And remember, you have already put in years of work to get to this point. Part 4 is another hurdle, but with focused preparation and plenty of timed practice, you can walk in feeling much more confident and ready to go!